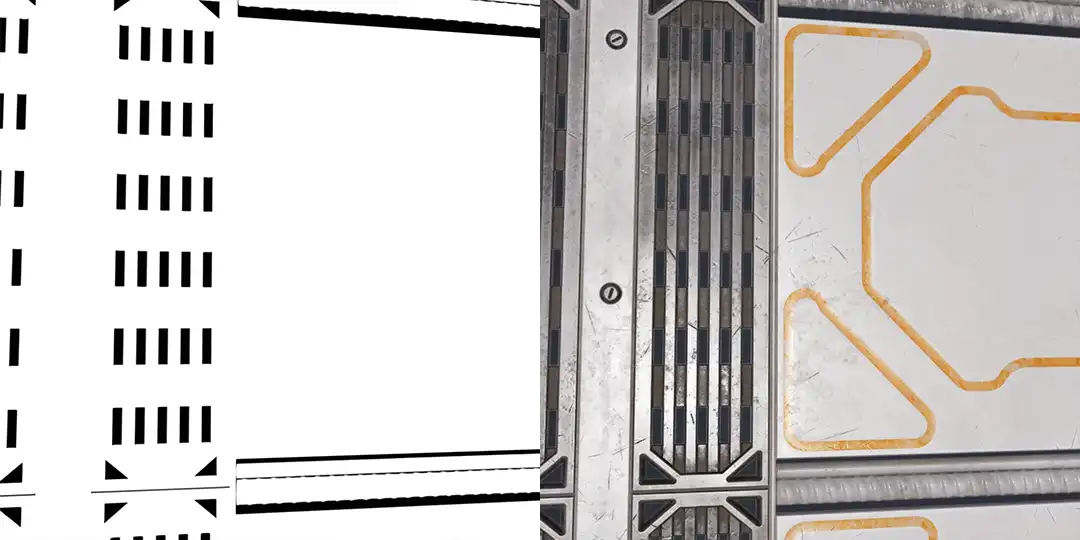
In this article you'll learn what all the various texture maps that make up a LotPixel Material are for.
Given Lotpixel's emphasis on photogrammetry and PBR (Physically Based Rendering) maps, when discussing texture maps within this context, it's essential to align with the standards and practices that Lotpixel follows. Their texture library is standardized to include various map types such as Albedo, Diffuse, Glossiness, Specular, Displacement, Normal, Roughness, Metallic, and Ambient Occlusion, catering to different resolutions ranging from 1K to 8K to meet the needs of diverse projects.
LotPixel authors our assets using one of two authoring techniques in a Physically based pipeline. Those two techniques are the Metallic/Roughness workflow or the Specular/Glossiness workflow.
They ultimately do the same thing, its just that one technique is more widely used because of memory optimizations you can utilize in a realtime setting.
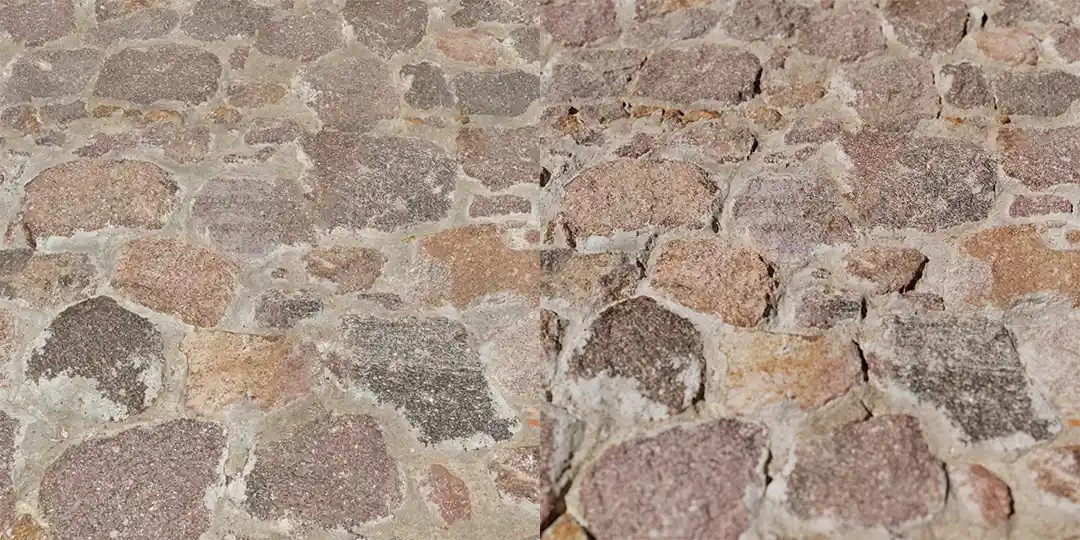
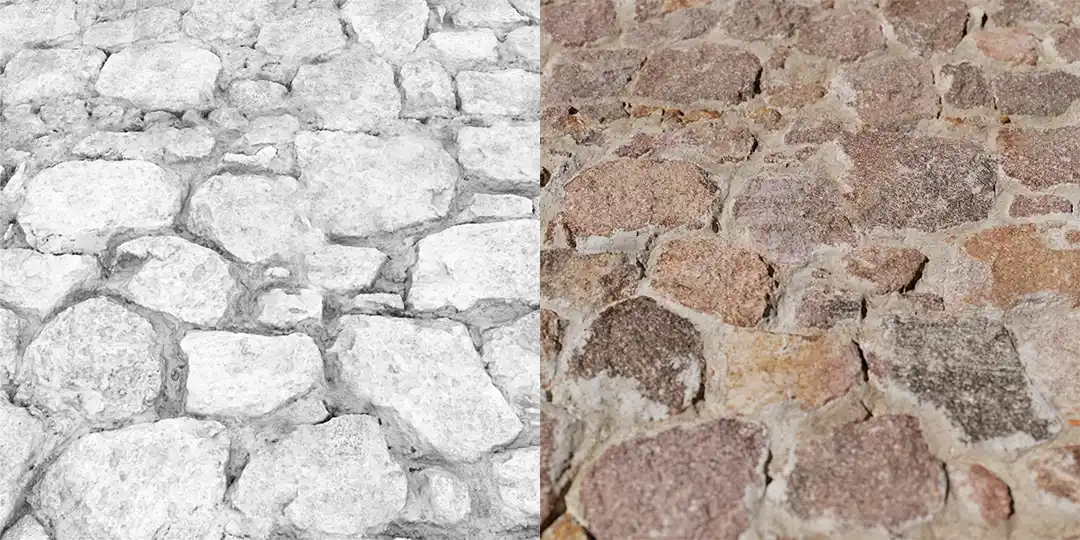
The color map is an sRGB map that represents the diffuse reflected color for dielectrics and the reflectance values for metals. The best way to conceptualize the color map is as the hue of the object with all lighting directionality removed from the image. In a Physically Based Rendering (PBR) pipeline, Color, BaseColor, Albedo, and Diffuse are synonymous terms used interchangeably to denote the same concept. This map varies depending on its application within the Metalness workflow or the Specular workflow.
In the PBR workflow, the color map is a fundamental component among various maps used to simulate a surface's properties. It reflects the natural color of the object, unaffected by the direction or intensity of light on the object. This consistency of an object’s color during lighting calculations in PBR material modeling contributes to achieving realistic visualizations.
The use of the color map in both workflows facilitates a more accurate simulation of material properties and light reflection models. This enables more realistic and physically accurate visualizations of virtual environments and objects. The PBR approach is widely used in game development, film production, and visual effects work as a critical step towards increasing realism.
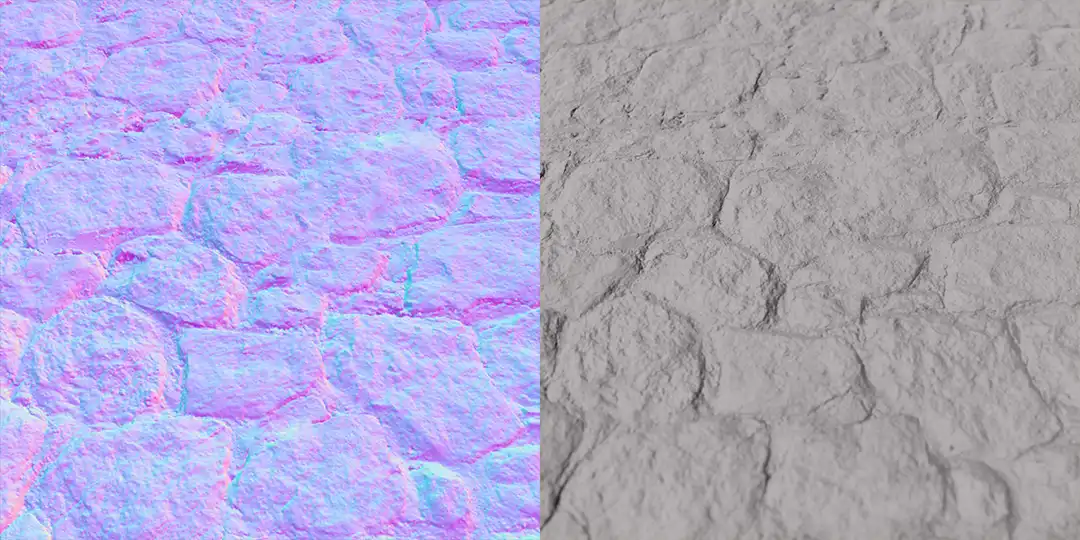
The normal map is a sophisticated RGB map utilized to simulate three-dimensional attributes on a two-dimensional texture. This ingenious technique leverages the colors within the predominantly purple map to represent different axes or directions of light reflection. Each color value corresponds to a specific orientation in 3D space, with red, green, and blue channels typically encoding the X, Y, and Z axes, respectively. This method enables textures to exhibit an illusion of depth and detail that is not inherently present in the flat 3D model itself.
By manipulating how light interacts with the surface of the object based on the normal map, artists and developers can create the appearance of complex surfaces and textures without the need for additional geometric complexity. This not only enhances the visual richness of the model but also maintains a lower polygon count, which is crucial for optimizing performance in video games and real-time applications.
The process of creating a normal map is often referred to as "baking" in the industry. It involves projecting the detailed information from a high-polygon model onto a lower-polygon version, thereby "baking" the intricate details into the normal map. This allows for the detailed appearance of the high-polygon model to be preserved on the more performance-friendly low-polygon model. The term "ripping" is less commonly used in a professional context and may refer to the extraction of assets or information in a manner not intended by the original content creators.
Normal mapping is a cornerstone technique in the realm of digital art and game design, enabling the creation of highly detailed and visually compelling models that are both resource-efficient and performance-optimized. This method is integral to achieving high levels of realism and detail in modern digital visuals, making it a crucial skill in the toolkit of 3D artists and developers.
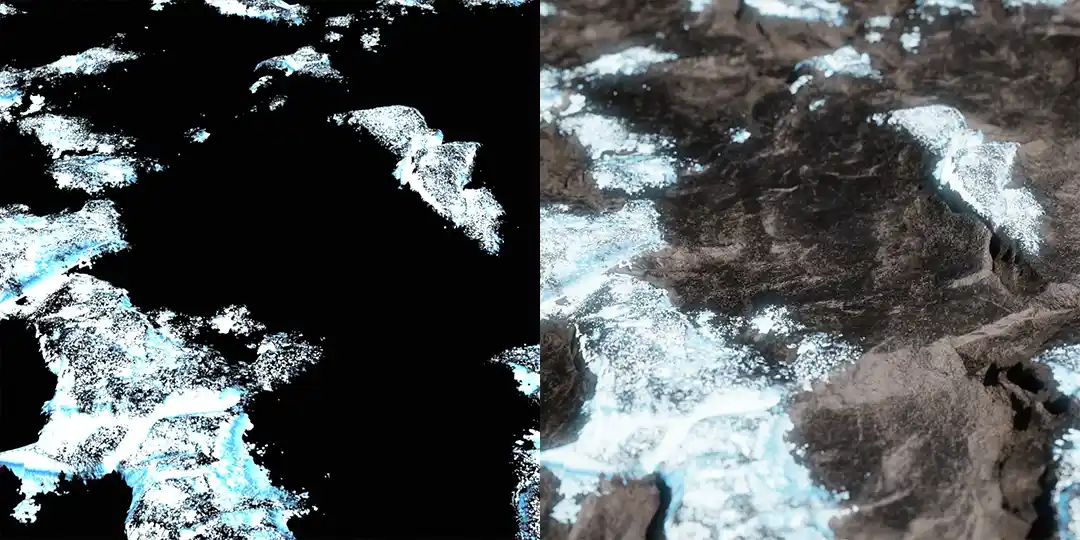
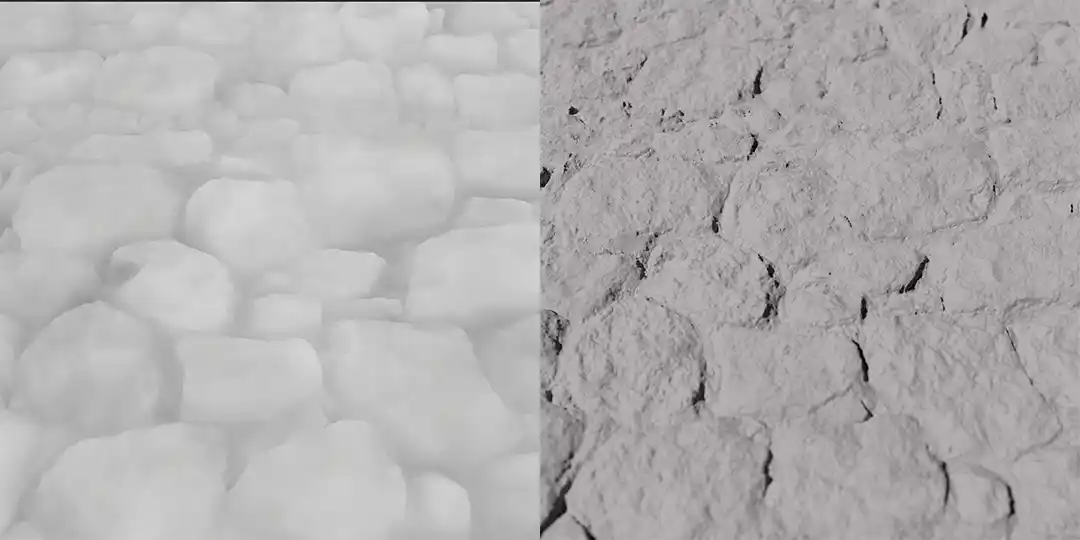
Displacement maps serve as a powerful tool in the arsenal of 3D graphics, offering a method to imbue two-dimensional textures with the illusion of three-dimensional depth and complexity. These maps are typically created as Linear 16-bit images, enabling a high degree of precision in representing height variations across the texture's surface. Unlike normal maps, which merely alter the surface's appearance to simulate depth, displacement maps actively modify the mesh geometry, introducing and displacing vertices to create tangible changes in the model's silhouette.
The use of displacement maps, while offering a significant boost to visual realism, comes with a higher memory footprint compared to normal maps. This increased demand on resources stems from their capability to dynamically adjust the geometry of models by adding or shifting vertices based on the grayscale values within the map. Lighter areas represent regions of higher elevation, while darker zones suggest lower areas, enabling the creation of detailed surface textures that truly extend beyond the original mesh.
Implementing displacement mapping effectively requires shaders equipped with tessellation algorithms. Tessellation dynamically subdivides the model's surface into finer geometry, providing a dense mesh that can be manipulated by the displacement map. This process of subdivision allows for the precise adjustment of vertices in accordance with the map's grayscale values, enabling the creation of complex surfaces that genuinely protrude or recede.
However, the computational intensity of tessellation and displacement mapping necessitates robust GPU capabilities to avoid performance degradation. The process of dynamically adjusting vertices in real-time is resource-intensive and demands a graphics processing unit capable of handling such computations efficiently.
Displacement mapping shines in scenarios where visual fidelity, especially in close-up views, is paramount. It provides a level of detail and realism unachievable with normal maps alone. The technique, however, should be employed judiciously due to its potential impact on performance and memory usage. Strategic use in scenes where detail is critical can significantly enhance visual immersion without unnecessarily burdening the rendering system.
The distinction between normal maps and displacement maps becomes particularly evident at the boundaries of objects. While normal maps can simulate depth and texture to a degree, they cannot alter the object's silhouette. Displacement maps, in contrast, actually modify the mesh geometry, producing visible changes in the object's outline. This difference is starkly observable in cases like the edge of a sphere, where displacement maps can produce a convincingly uneven, textured edge that extends into 3D space, beyond the capabilities of normal maps.
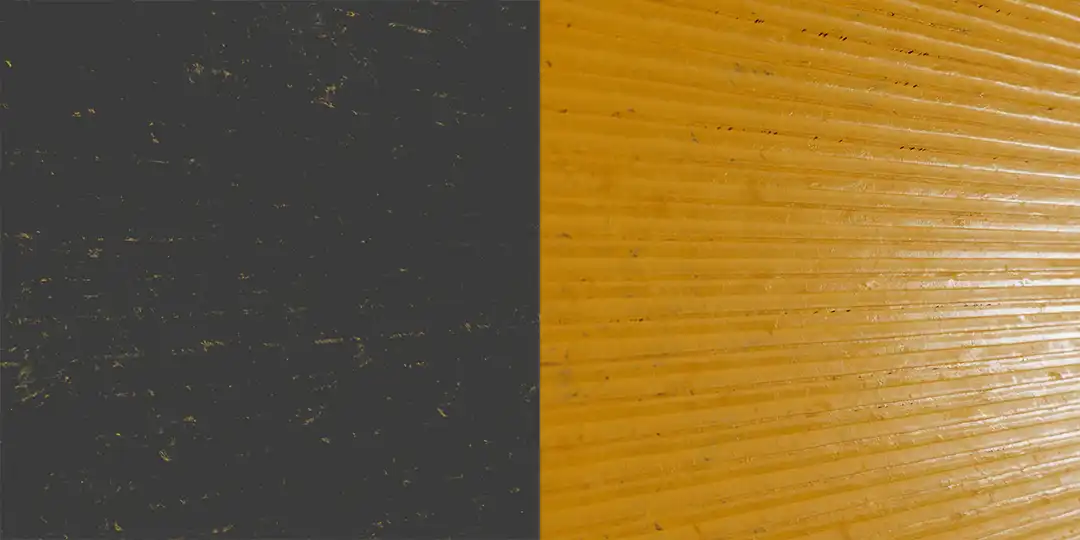
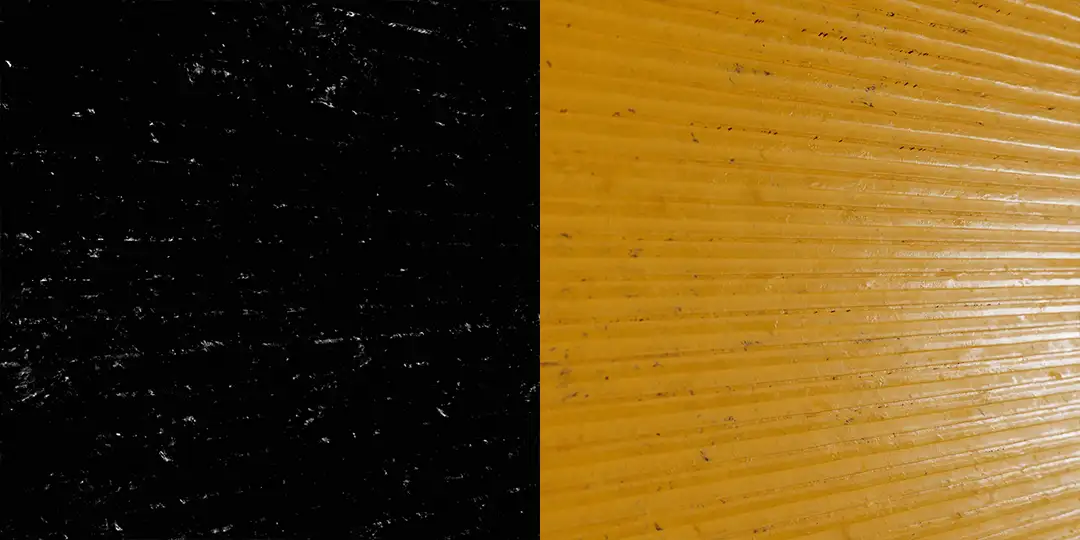
It essentially defines which areas of the object are shiny (reflective) and which are matte (less reflective). This is crucial for simulating how light behaves when it strikes the object and how it reflects back to the observer.
Specular maps are typically grayscale images, where white areas represent high levels of reflection (high specular values), and black areas denote regions with minimal reflection (low specular values). The intensity of these maps dictates the level of shininess of the surface, thus determining characteristics such as whether the material appears metallic, plastic-like, or has a completely matte finish.
Used particularly in complex scenes and high-quality visualizations, specular maps enhance the realism of objects. They allow for finer control over an object's surface details and material properties, enabling a more realistic representation of the interaction between light and materials in a virtual environment.
These maps are often utilized in Physically Based Rendering (PBR) workflows, especially within the specular/glossiness model. In this model, the specular map, along with the glossiness map, defines the reflectivity of an object and how glossy the surface appears. This allows for accurate simulation of various material surface properties and achieves more realistic visual outcomes.
Specular maps are crucial tools in 3D visualization and game design, enabling detailed control over how surfaces reflect light. This allows artists and designers to create visually striking scenes that better reflect the diversity and richness of materials.
In the realm of 3D rendering, glossiness and roughness maps are indispensable tools that define an object's surface characteristics, with their use depending on the chosen rendering workflow glossiness maps for the Specular workflow and roughness maps for the Metalness workflow. Both types of maps, essentially two sides of the same coin, are Linear 8-bit images that control the reflectivity of surfaces; gloss maps enhance smooth, polished reflections by indicating higher smoothness with brighter values, whereas roughness maps depict surface irregularities by assigning higher values to more diffused, less reflective areas. The mastery of crafting these maps lies at the heart of 3D texturing, where meticulous attention to their values can dramatically influence the realism and appeal of the material, making the time spent fine-tuning these maps crucial for achieving lifelike textures that accurately reflect light and shadow.
The metalness map, a Linear 8-bit image crucial in the Metal/Roughness workflow, simplifies material definition by distinguishing metals from non-metals within a single texture, where black represents non-metallic surfaces and white indicates metallic ones. This approach contrasts with the Specular/Glossiness workflow, which requires separate maps for these properties. The shader then interprets these values to render the appropriate light interaction. Any shading anomalies are often due to the presence of gray areas within the metalness map, suggesting ambiguity in material definition; adjusting these to pure black or white can resolve such issues, as demonstrated when altering the metalness map to black transforms the material appearance to that of a non-metal, or dielectric.
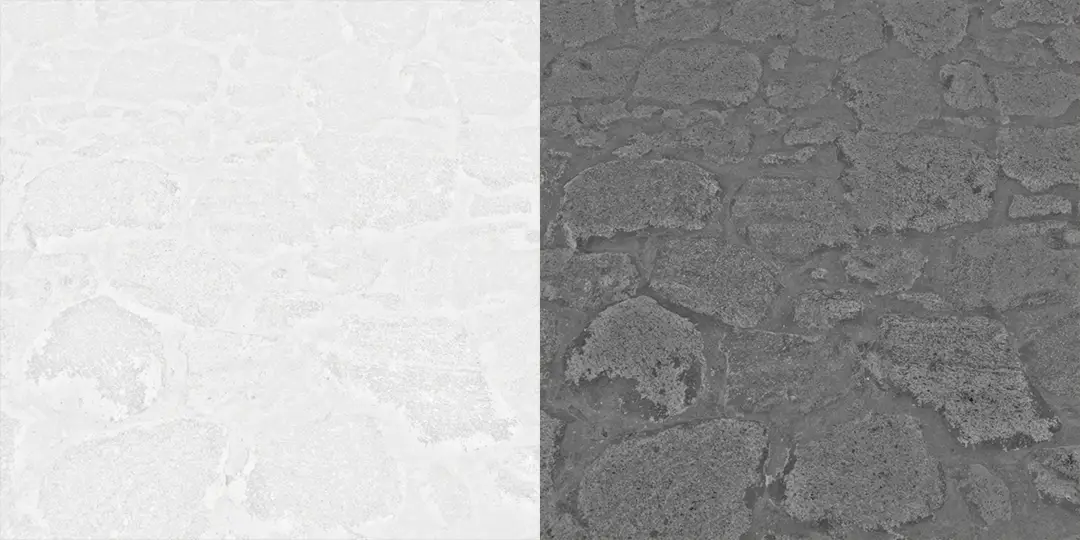
The Ambient Occlusion (AO) map is a crucial texture in 3D rendering that simulates the way light radiates in real life, particularly how it gets obstructed by objects, creating naturally occurring shadows in nooks and crannies. It's a grayscale image where darker areas represent parts of the model that are less exposed to ambient light, thus appearing more shadowed, and lighter areas indicate surfaces more directly exposed to light. By adding depth and enhancing the realism of the scene, AO maps effectively convey the subtle interplay of light and shadow across different surfaces, making objects appear more grounded in their environment. This map is typically used in conjunction with other texturing techniques to achieve a more lifelike and detailed visual appearance in digital models.
An opacity map is a crucial tool in 3D rendering that dictates the transparency levels of different parts of a texture, allowing for the creation of materials with varying degrees of visibility. This grayscale image directly controls the opacity of the material it's applied to; white areas in the map correspond to fully opaque (solid) parts of the material, black areas represent completely transparent sections, and varying shades of gray indicate different levels of translucency. By enabling artists to simulate a wide range of realistic effects, such as glass, water, or even semi-transparent fabrics, opacity maps greatly enhance the visual complexity and realism of 3D models. They are especially useful in scenes requiring intricate details like curtains in the wind or frosted glass, where the nuanced control of transparency can add depth and life to the virtual environment.
An emission map, in 3D rendering, is a texture that defines which parts of an object emit light and the color of that light, essentially turning the object or specific areas of it into a light source. Unlike other lighting in a scene that requires an external light source, emission maps allow specific parts of a texture to glow on their own, with colors and intensities defined within the map itself brighter areas in the map result in stronger emission, contributing to the scene's overall illumination. This feature is particularly useful for creating objects that appear to emit light, such as screens, signs, or magical elements, adding a layer of realism or fantastical effects to the environment by simulating how these objects interact with their surroundings through their own light.